Egg Carton Flowers

What do you do with all those empty egg cartons? If you have a few basic supplies, you can transform the ordinary gray carton into a one of a kind fall bouquet.
Supplies needed for this project:
Egg Cartons
Scizzors
Buttons
Floral Tape
Floral Wire
Wire Cutters
Paint
Paint brush

Start by taking your egg carton and cutting out the individual egg cups. This does not have to be done perfectly because we will be cutting them again!

Next, you will take each cup and cut it again. This time forming the layers of petals. You will want to vary the amount of petals on each one, so that when you layer them together, they will form the flower.
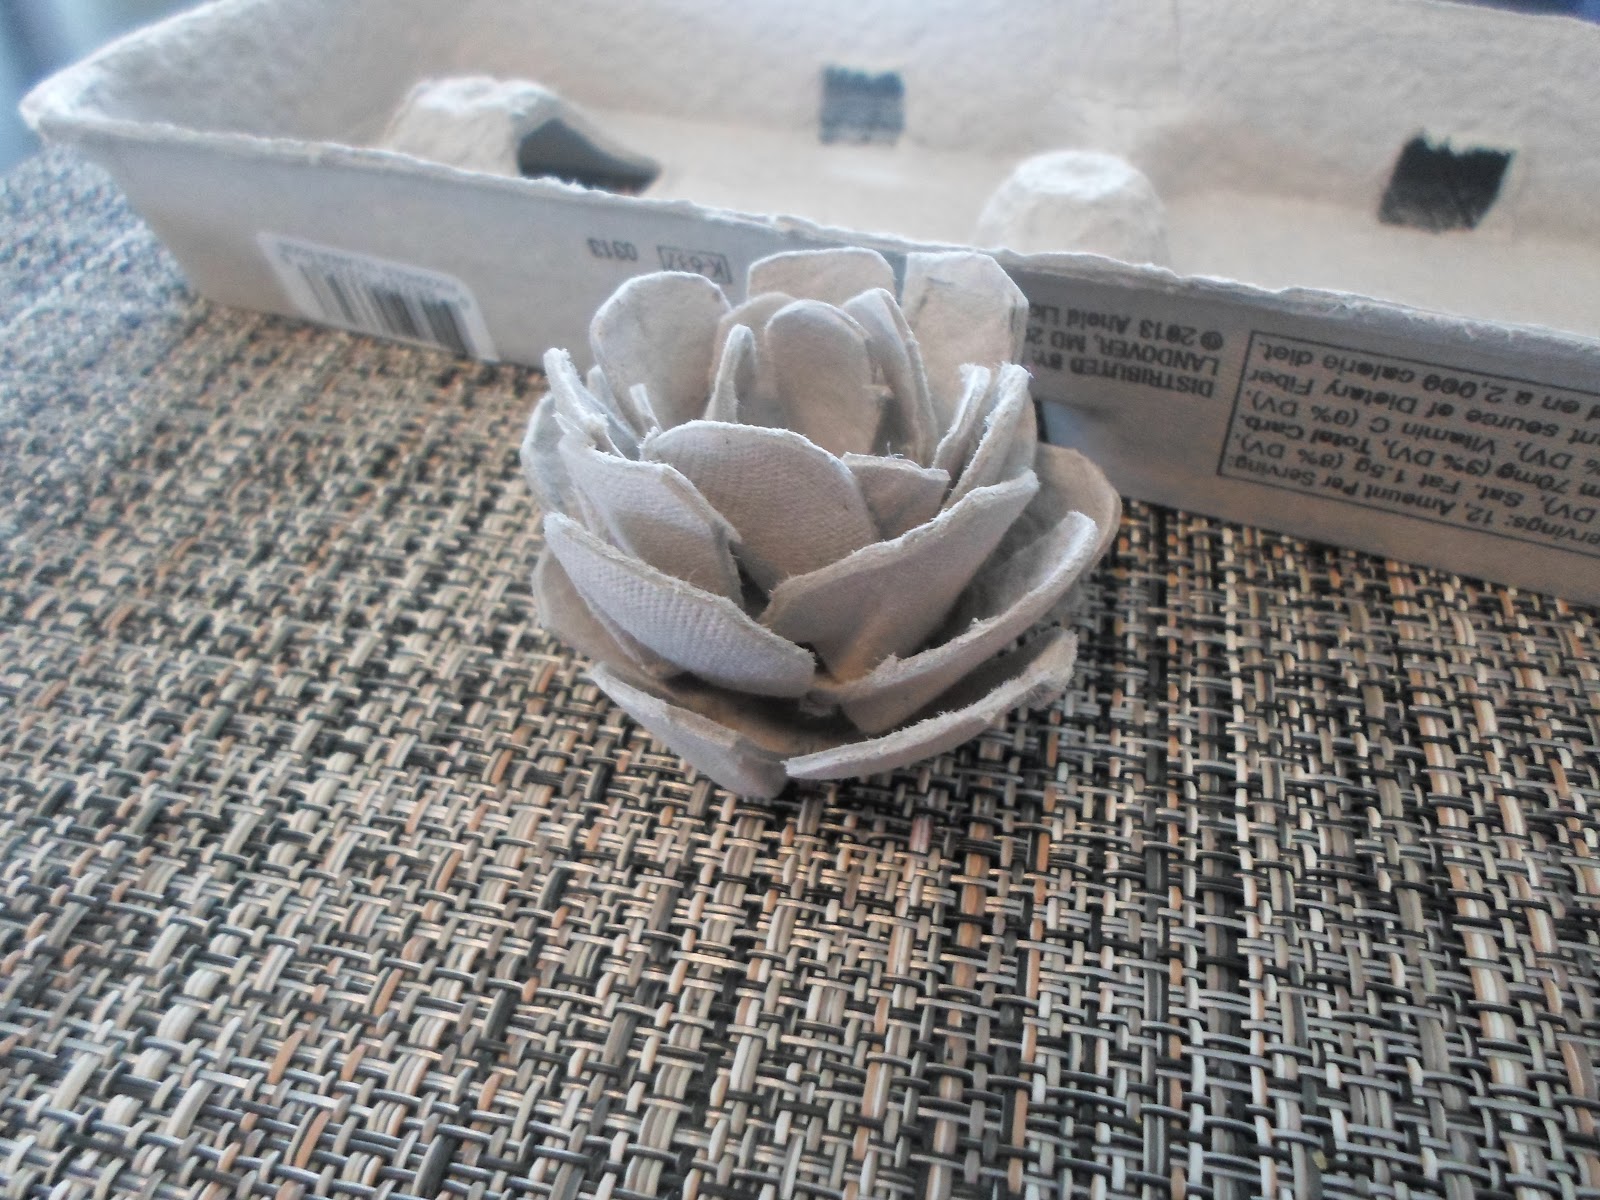
Once the petals are cut, they should layer together like this.

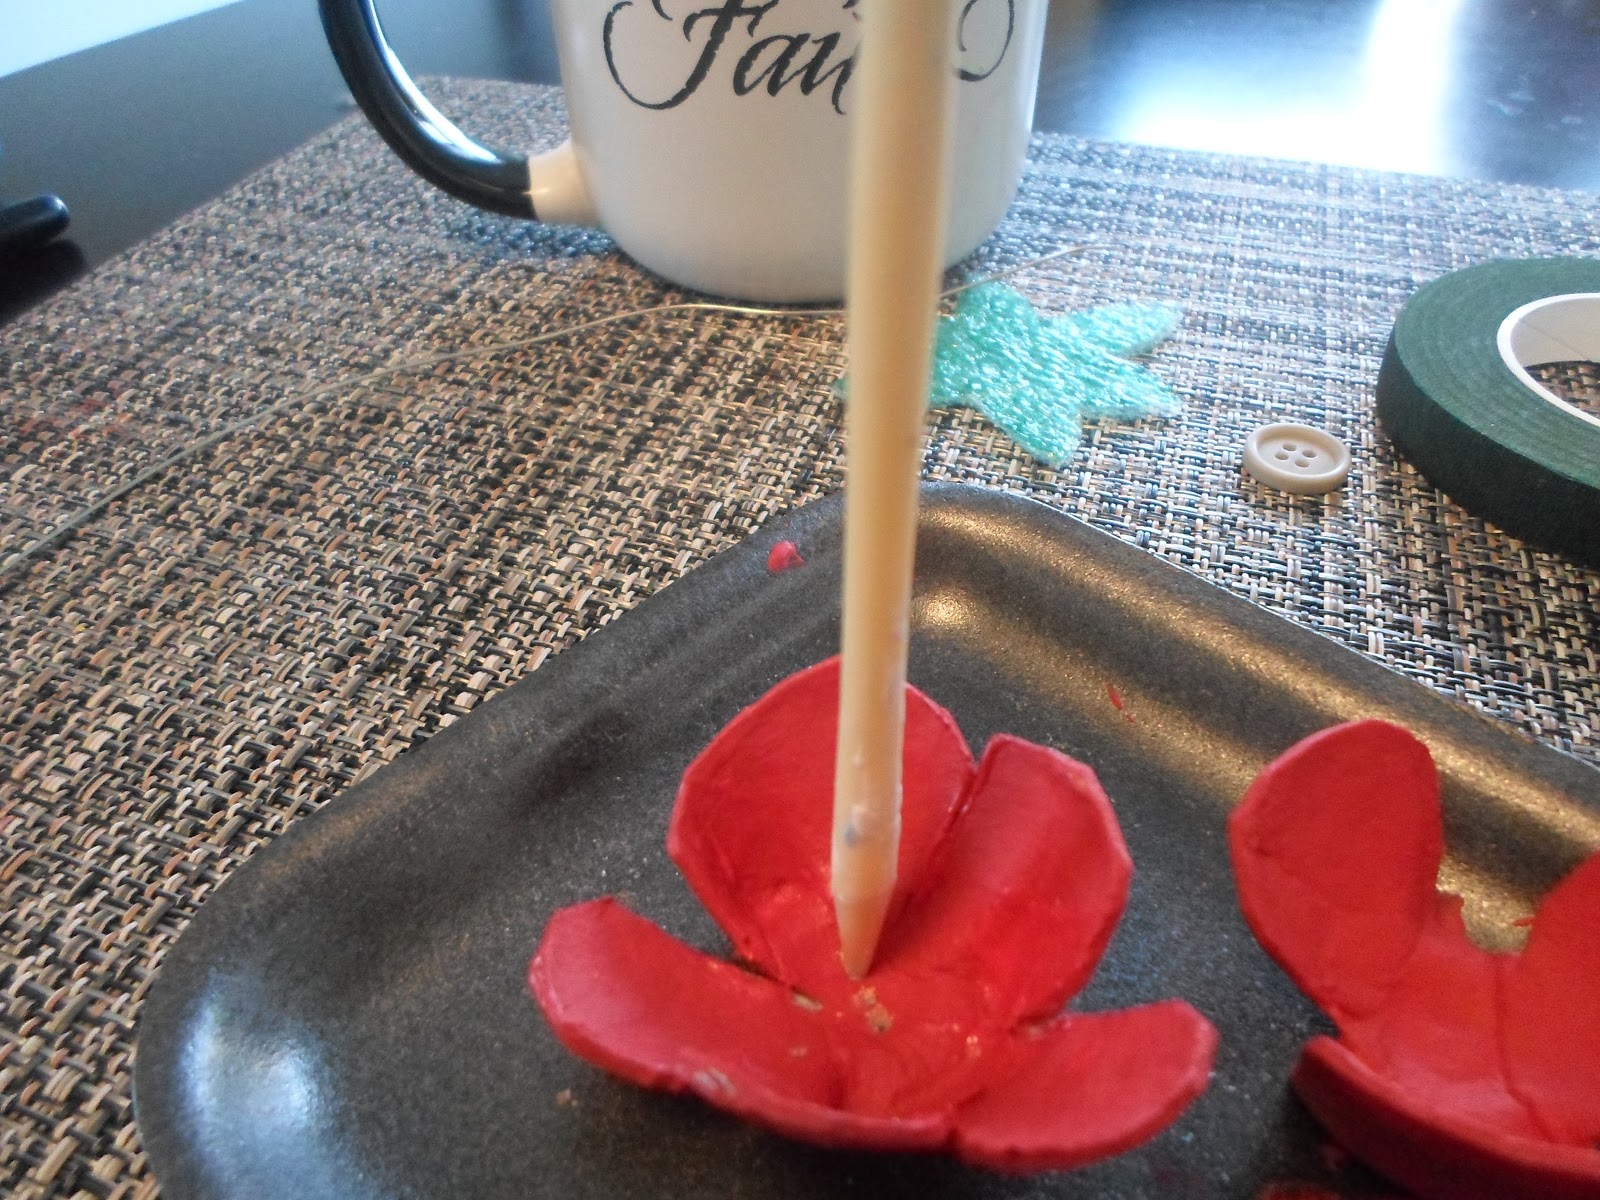
Now comes the fun part, paint! With your colors of choice, begin to paint the petals. You can go for a solid color flower or, if you prefer to be daring, you can mix colors to make a multi-colored flower. The sky, better known as your imagination in this instance, is the limit!
I decided to use some left over packaging to cut out a little "leaf" decoration to add to my flowers. This was freehand and simply colored with a green permanent marker. You can be creative here with whatever materials you have; construction paper, cardstock, old packaging, again, the sky is the limit.
I then "poked" two holes in the center of each flower. This will help when we thread the button and connect the layers with the floral wire. You do not have to be precise. I did not use a template for the hole placements. Since we are layering, the variety of the holes just add to the detail.

Place your wire through the button first. You want to be sure that the remaining wire is equal on both sides so that you can thread the petals on through their two holes as well. Begin to layer the petals, starting with the smallest and ending with the largest.

For my bouquet, I used four layers of petals, and then ended with my leaf embellishment. You can decided how many layers you prefer as you go. You can even make a variety of flowers and sizes if you like! Let your creativity flow!!

The last step is adding the floral tape. You will have two wires extending out of the base of your flower. I chose to cut one of mine down to an inch and wrap it around the other piece before wrapping with tape. You also could just twist the two pieces together to form one, thicker, stem. The choice is yours. Once the decision is made, wrap the wire with floral tape and you are done!!

Place the flowers in your vase of choice and make your bouquet as big or as small as you like. Most importantly, have fun!


Comments
Post a Comment